
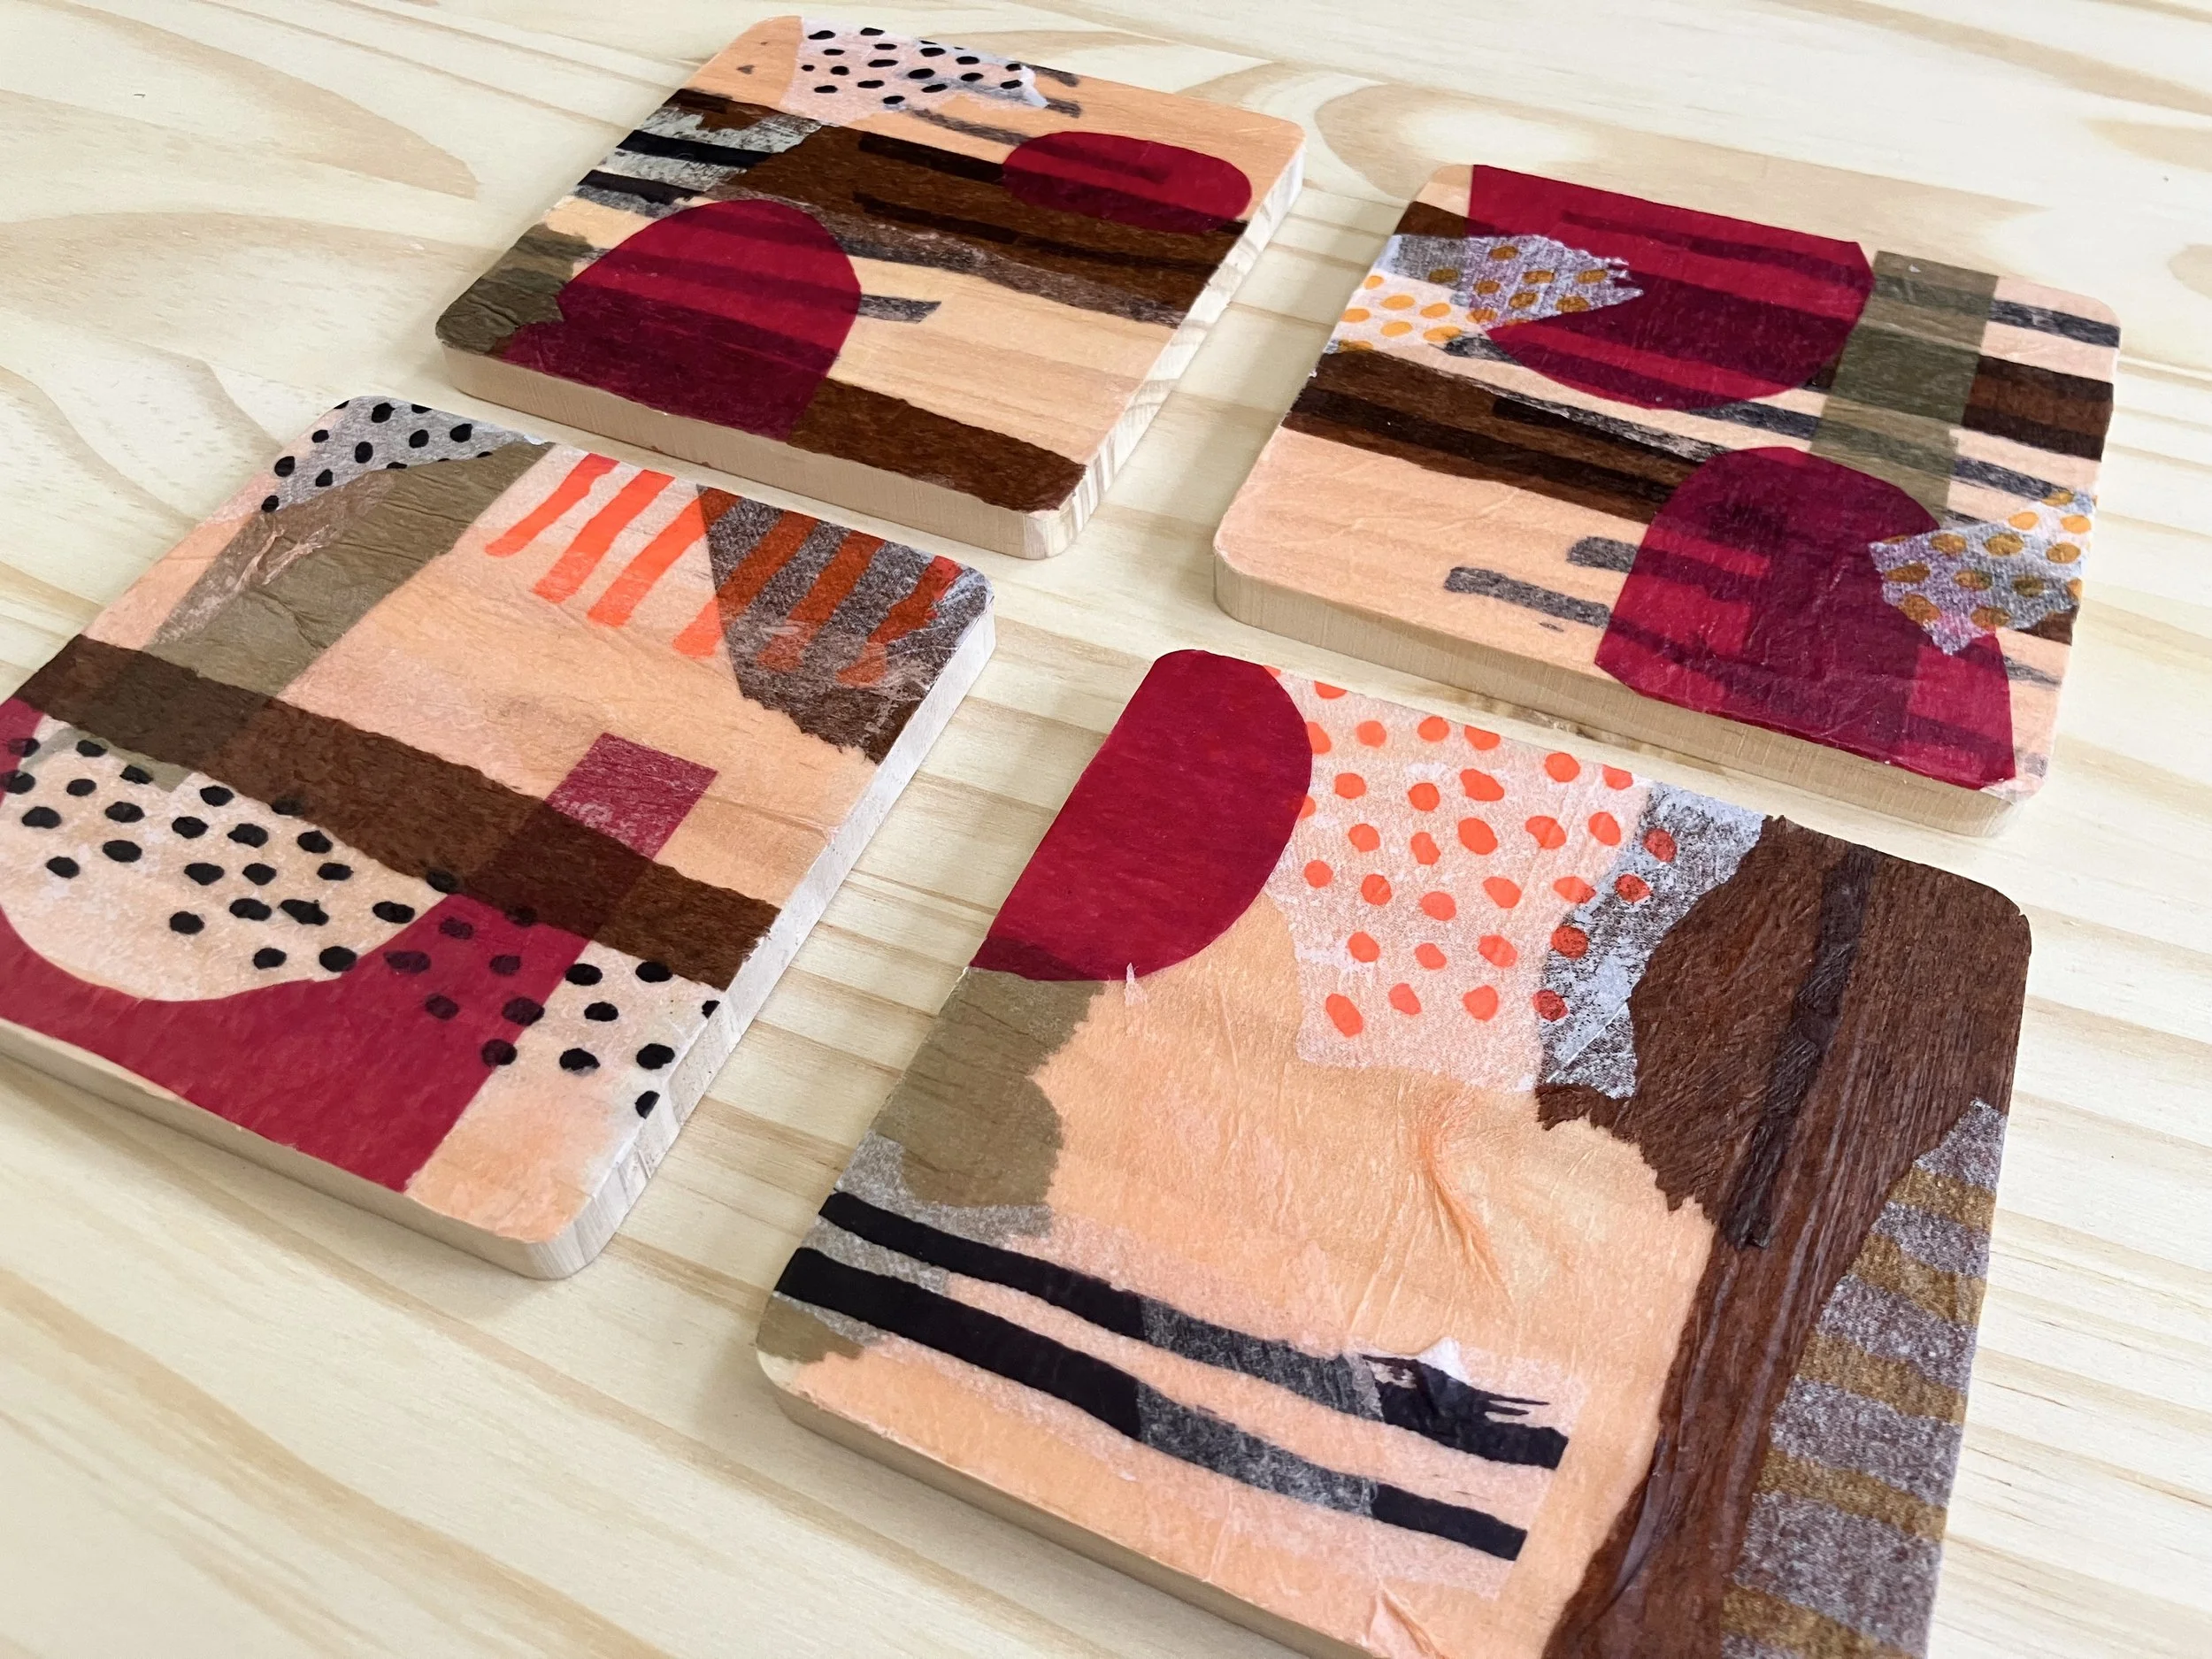
These collaged tissue paper coasters are super customizable, a cool way to make something that matches your decor perfectly. These also make a really nice personalized gift. This project is also incredibly low risk so if you’re feeling timid about your artistic abilities, not to worry! You can keep layering on until you’re happy. Once you’re done you will be so excited to sit your beverage of choice atop your beautiful artwork!
Don’t forget to share your work by tagging us in your photos — @gather.make.inspire
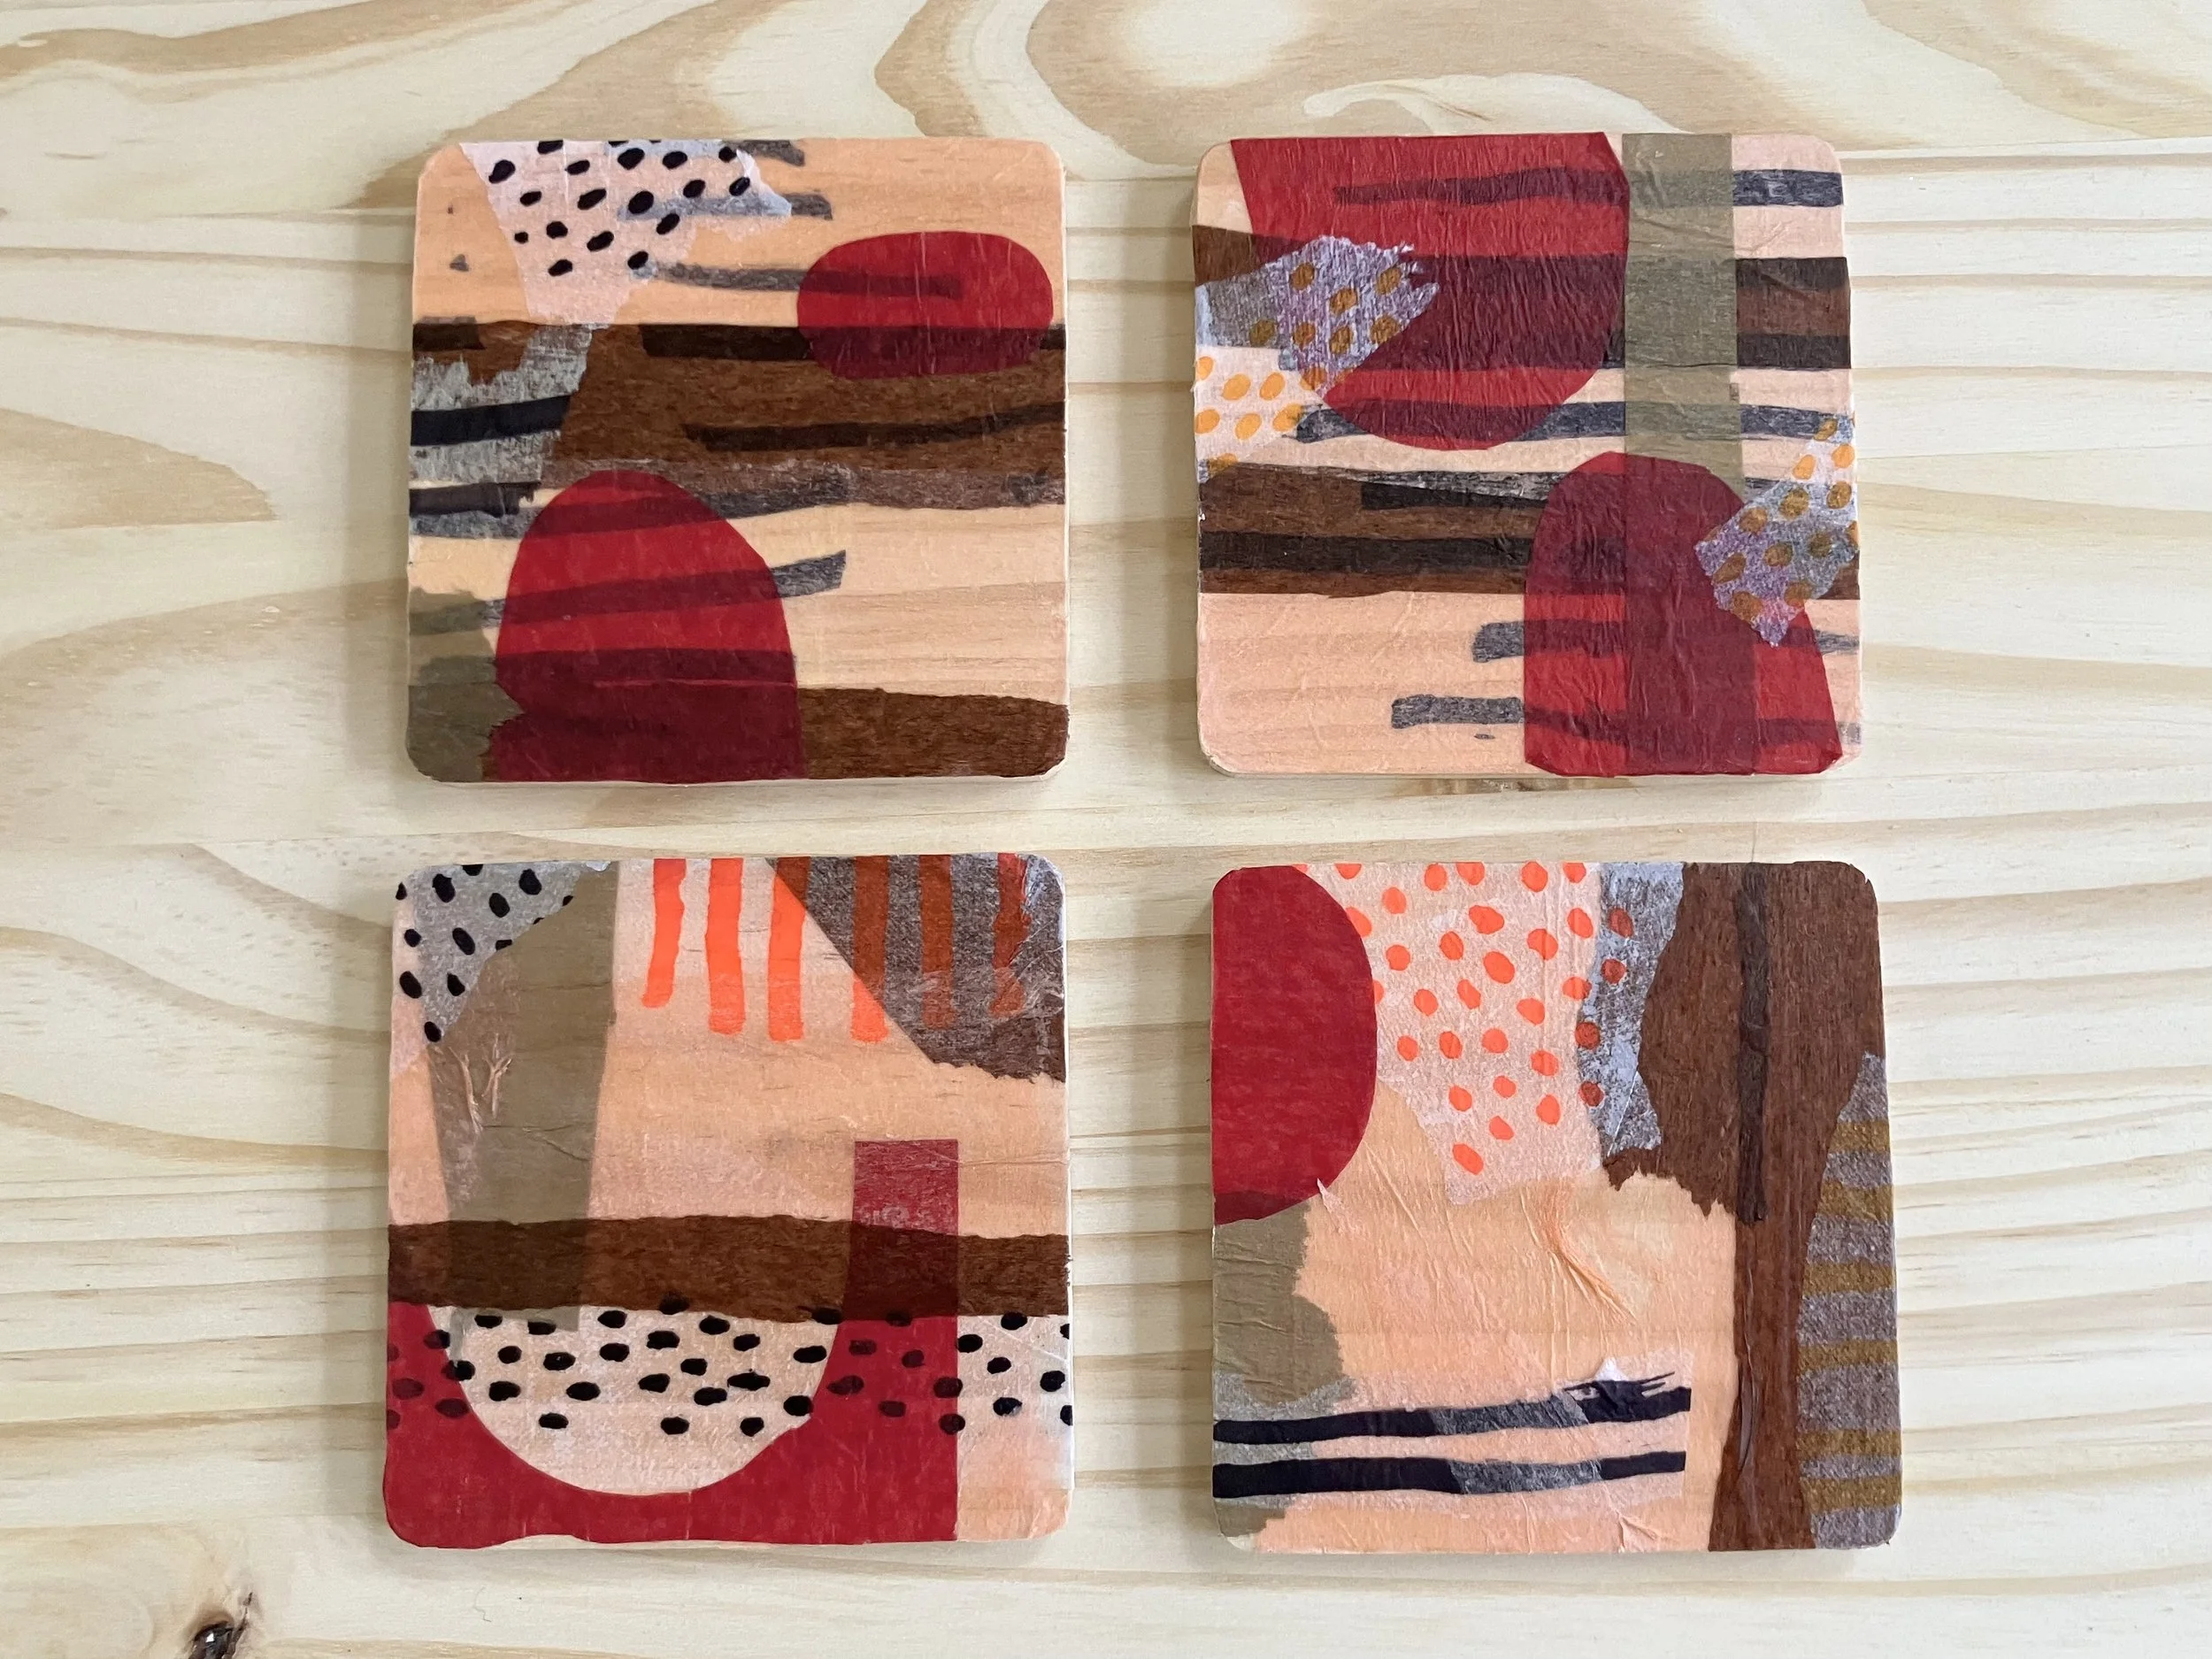
-
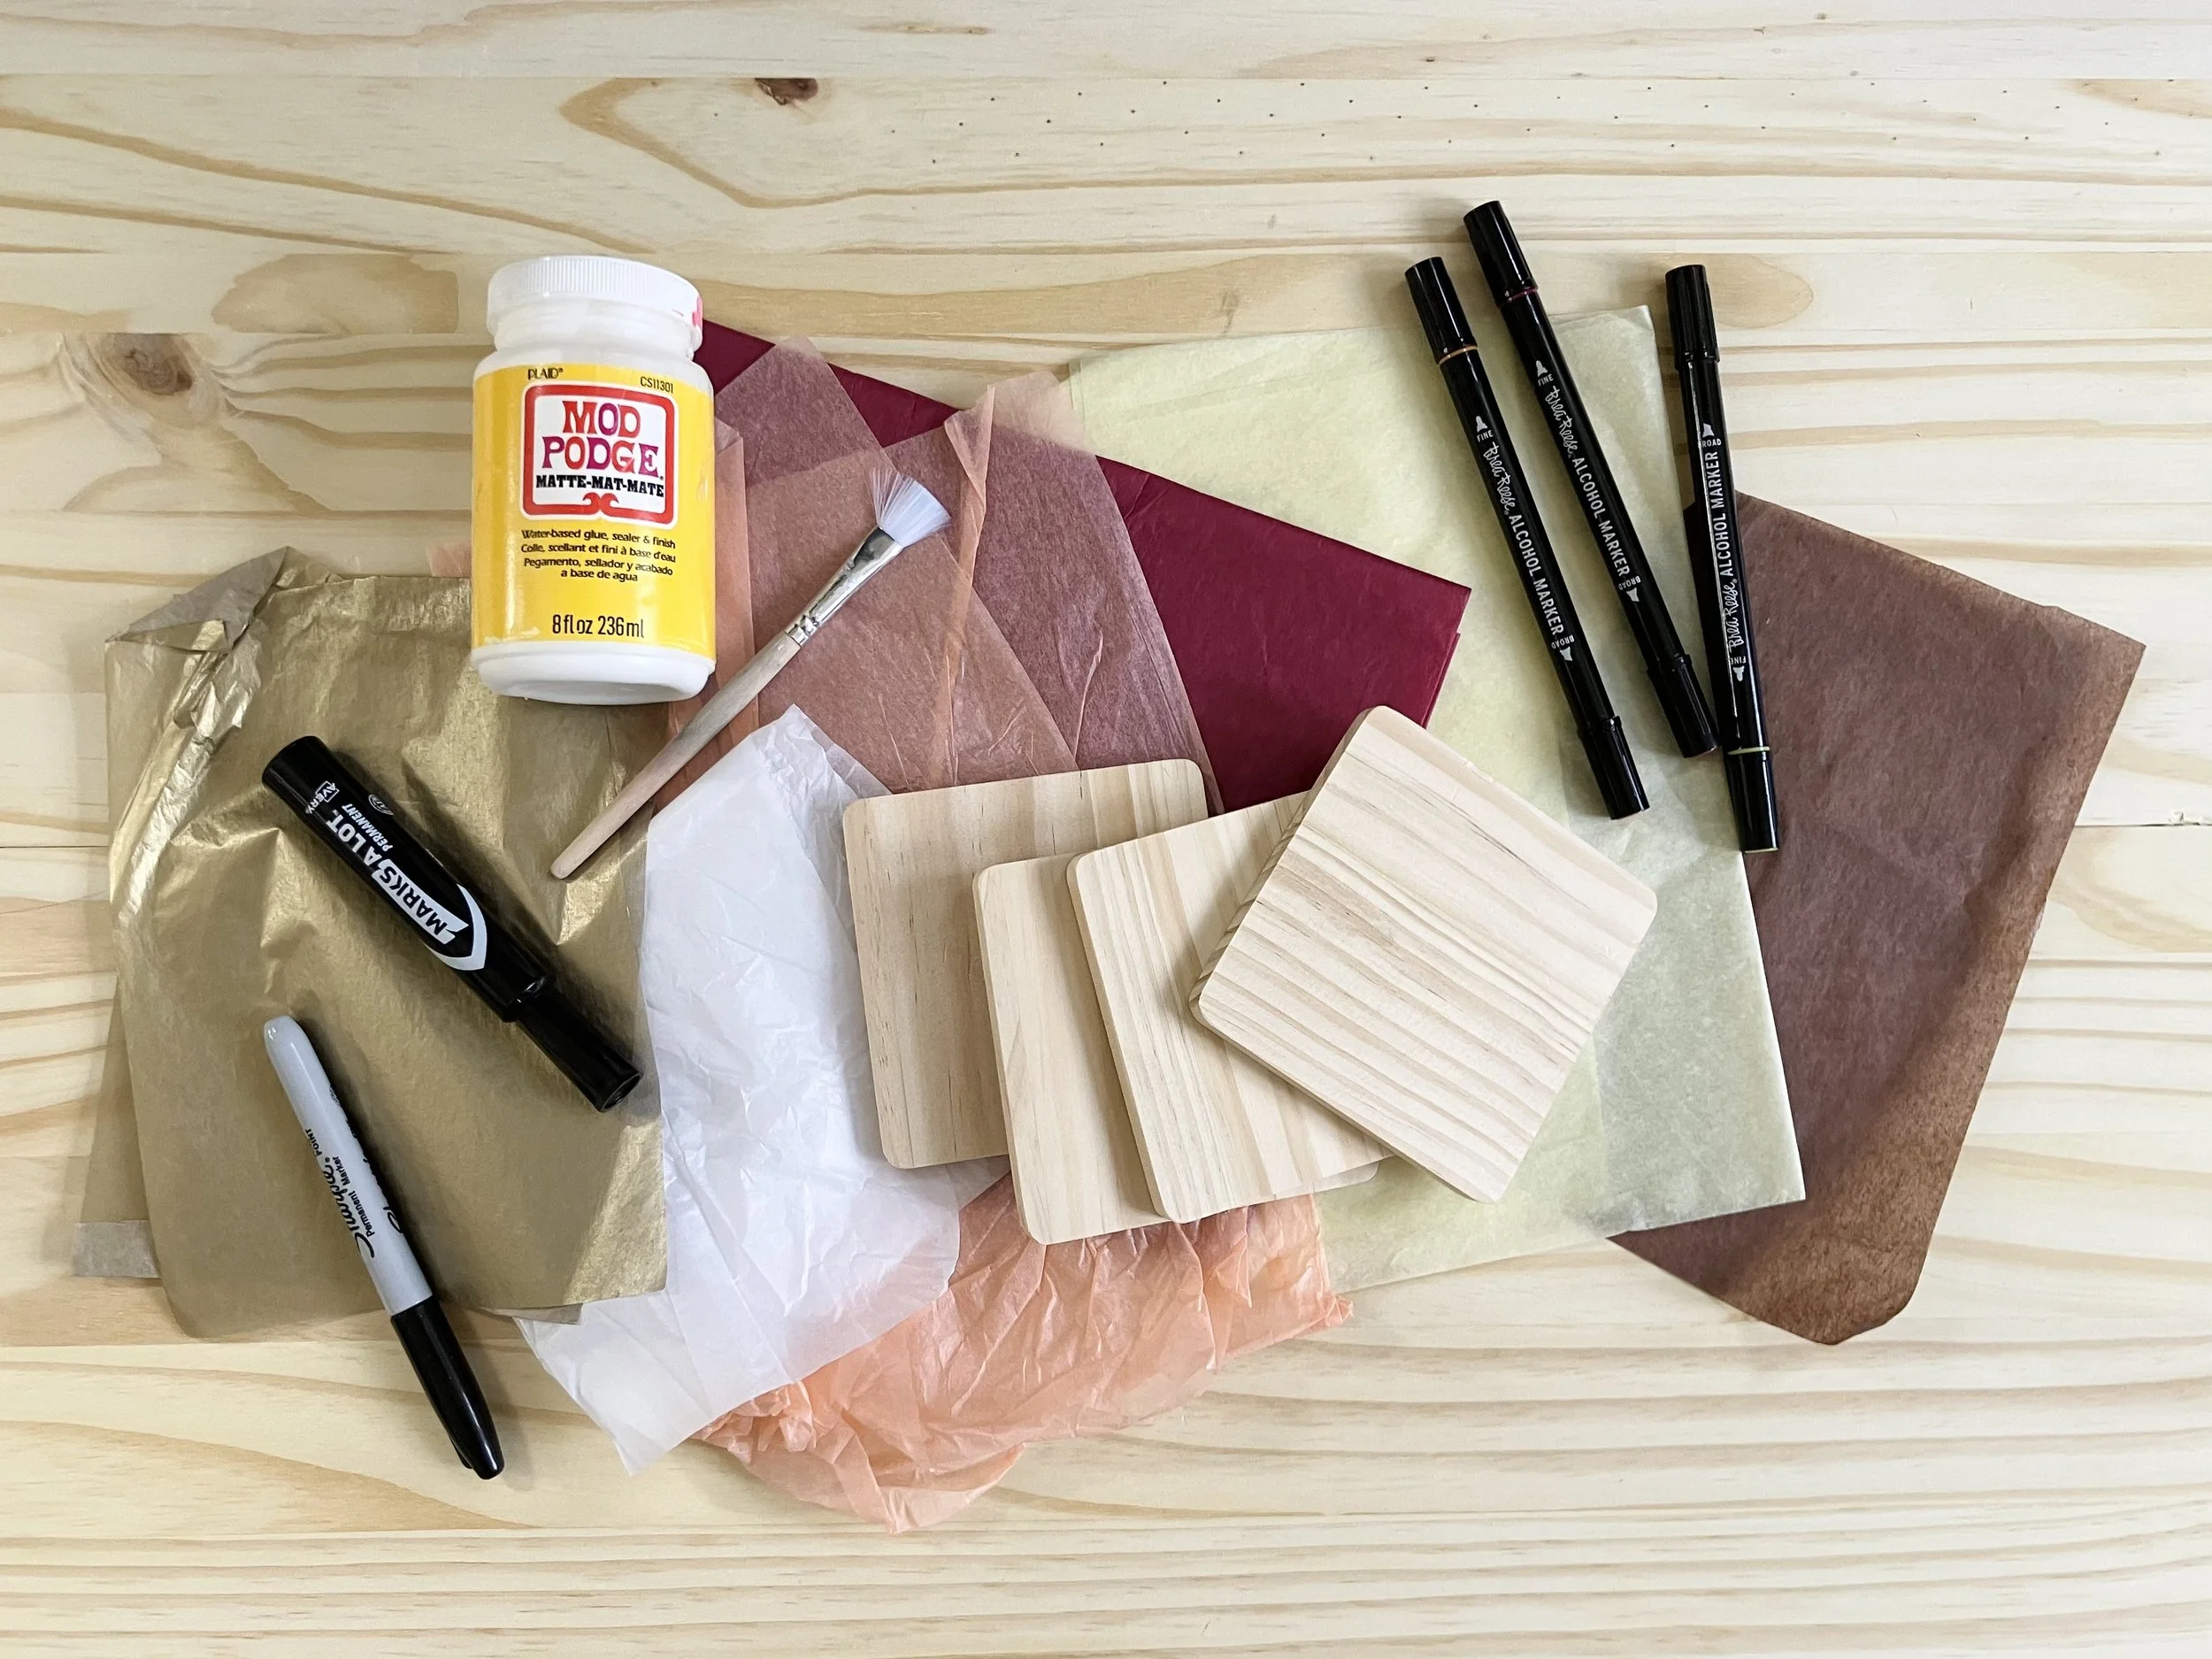
4 Wooden Coaster Blanks
Flat Paint Brush 1/2’- 1” wide
Tissue Paper- White & Colored
Assorted Colored Alcohol (Permanent) Markers- Like Sharpie (these markers will not run when glue is brushed over them)
Mod Podge Glue
Water Resistant Top Coat Like Mod Podge Water Resistant Glue
X-acto Knife or Utility Knife with a fresh blade
Optional:
High Grit Sand Paper like 120 or 150
Sheets of Foam
Scissors
Craft Glue- Like Aleene’s Tacky Glue
-
Clean Your Blanks
Make sure your wooden coaster blanks are clean of dust and residue. If there are any rough edges or splinters, you can lightly sand them with a high grit sand paper like a 120 or 150.
-
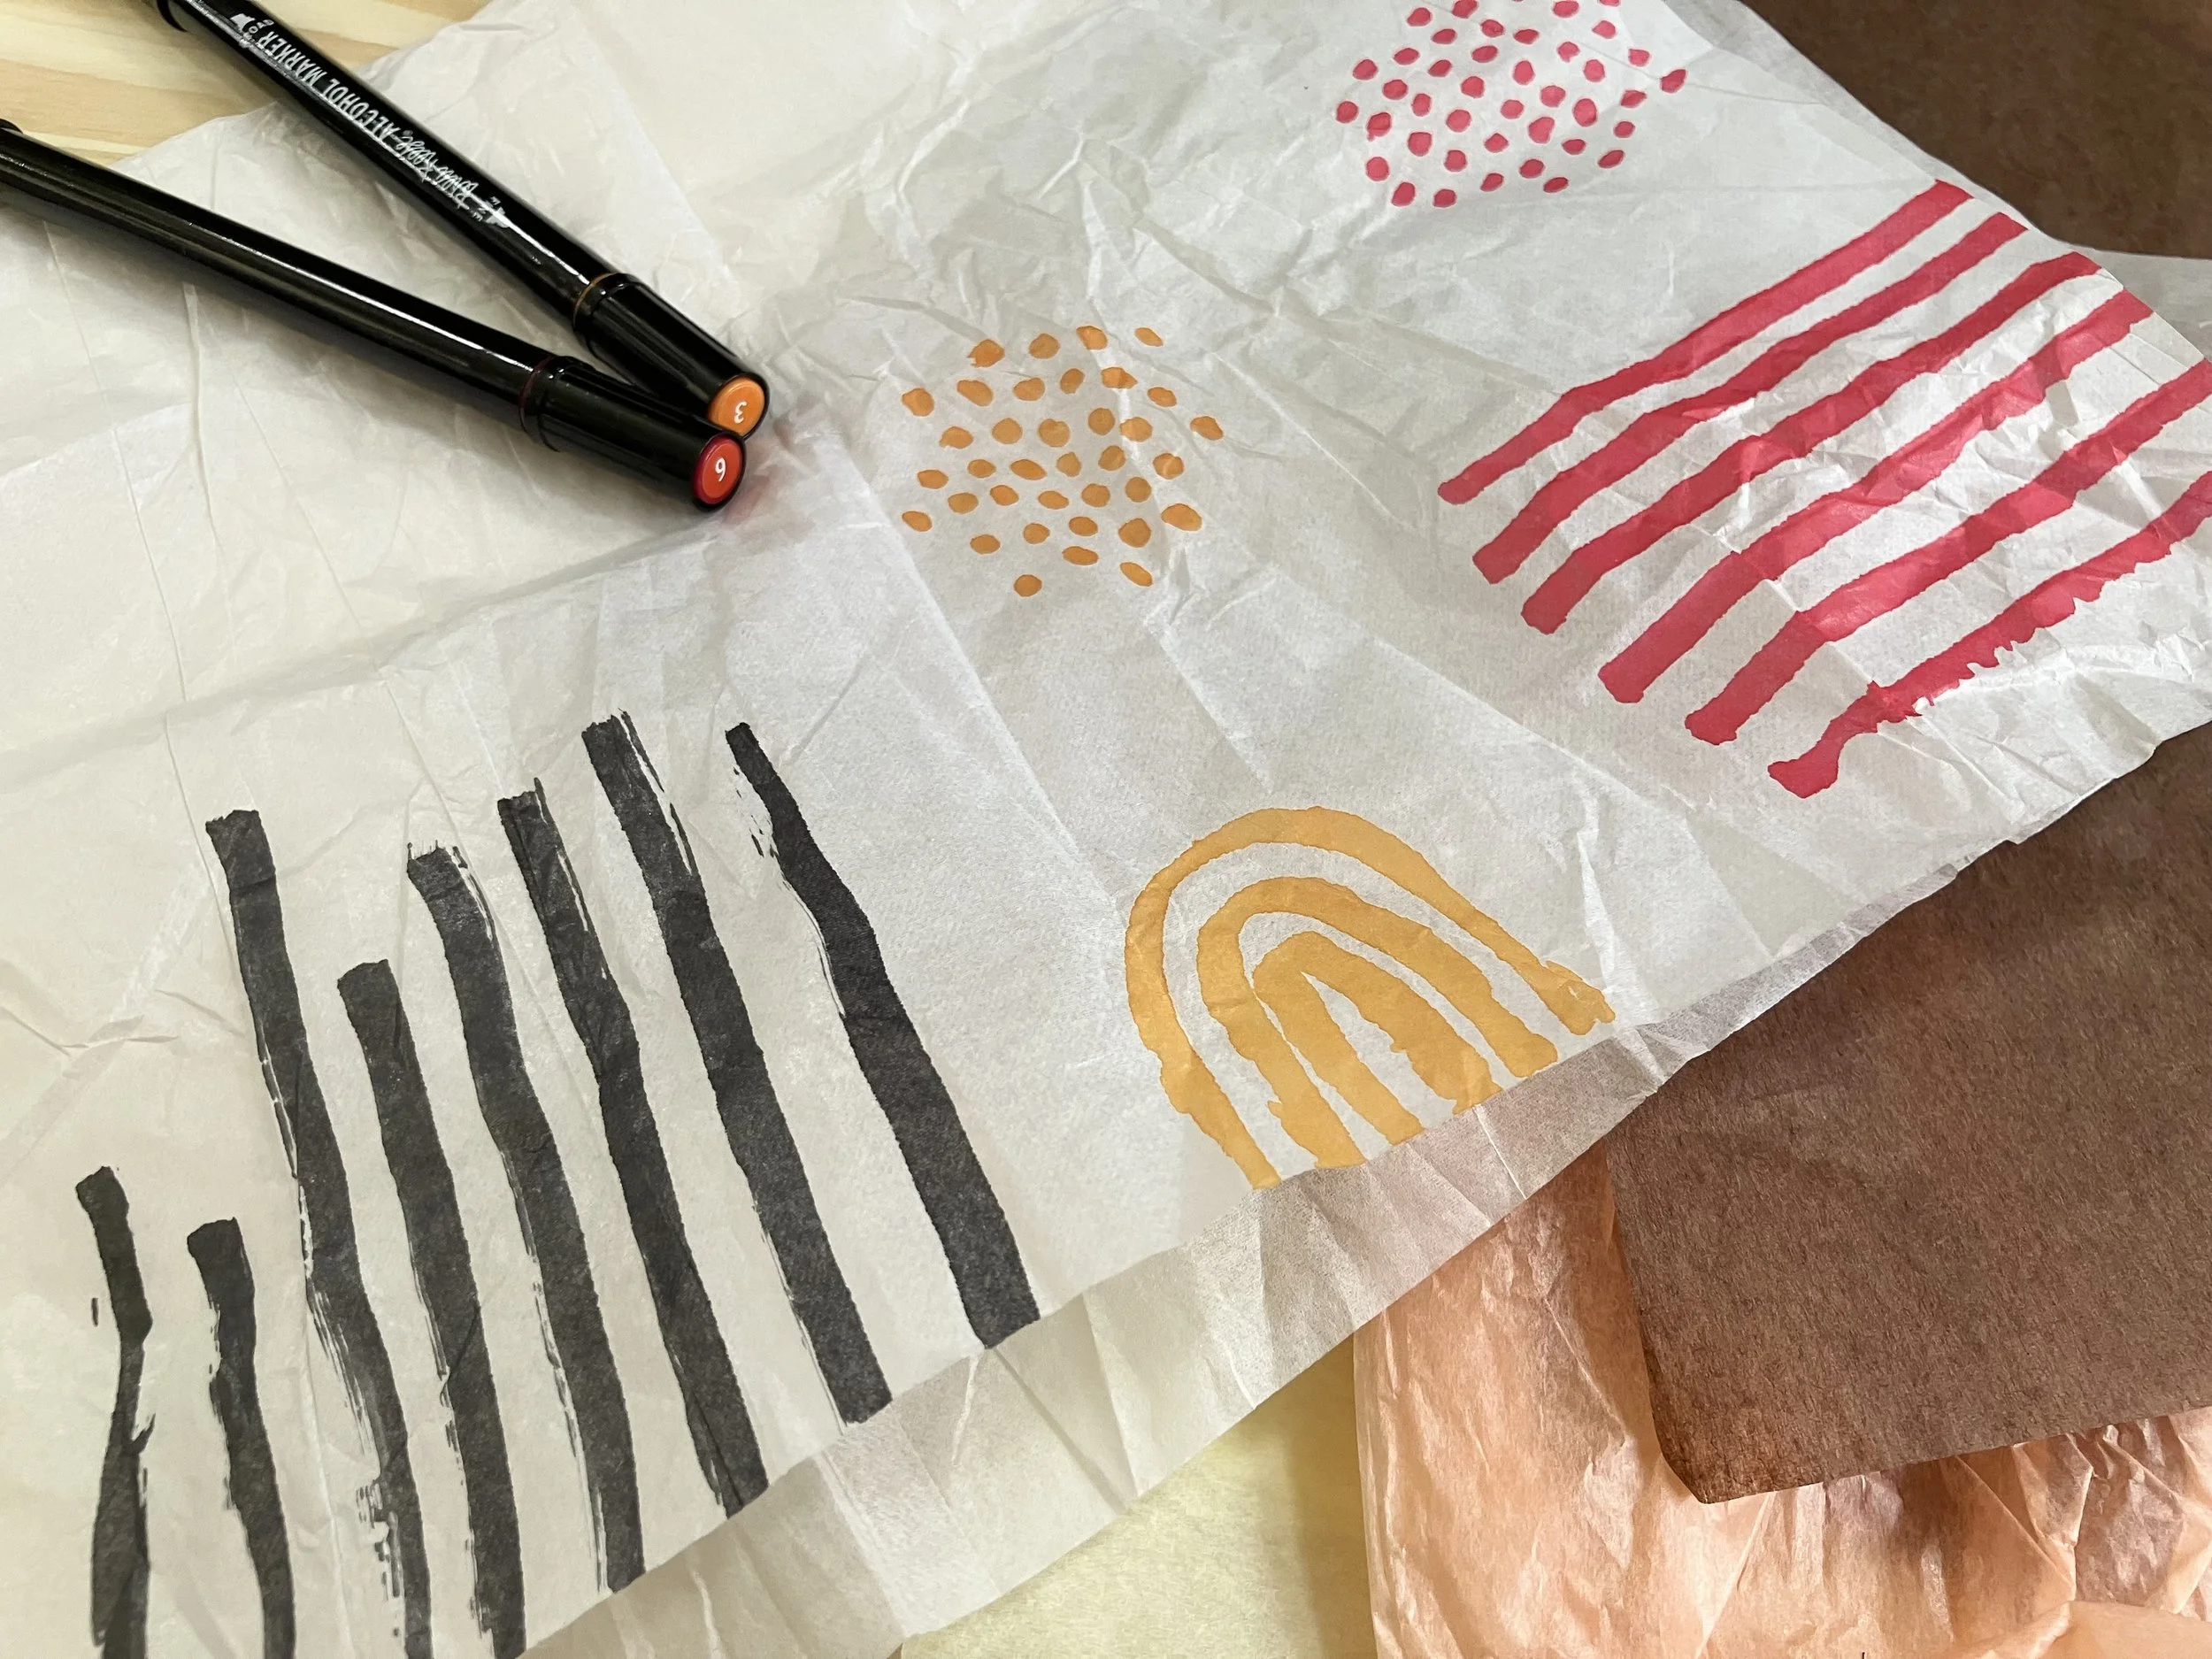
1) Place your white tissue paper on top of some scrap paper to protect your surface. The markers will bleed through the tissue paper. Using your markers, create different patterns and motifs, any kind of doodles or shapes you would like. These will be layered on top of your colored paper so consider the way the colors will interact. You can see how they may look by laying your colored tissue paper underneath, but know that the glue will create more transparency.
2) Cut or tear out your designs that you drew. Tearing will create a more transitional appearance, where straight cuts are nice against the edges of your coaster.
3) Tear or cut out some large pieces of colored tissue paper to uses as your base colors underneath your drawings. You can also use a combination of torn pieces and cut shapes.
4) Have your tissue paper pieces close by. Working on one coaster at a time, use a paintbrush, and begin brushing a thin layer of Mod Podge onto the surface of the wood coaster. Try to keep the glue only on the top surface if you are not planning on covering the sides with collage as well.
5) Start layering on your colored tissue paper, brushing it down and adding more Mod Podge on top as you go. Any tissue that extends past the edges of your coaster is fine. We can worry about that after everything is dry.
6) Once you have your base layer down, begin layering on your drawings using the same technique as in the previous step. You can layer your drawings on top of each other, layer more solid colors on top of your drawings. You can create additional drawings if you feel the need. There really are no rules here, you are just looking for a composition that is pleasing to you!
7) When you feel your collage is done, let it dry completely.
8) Once dry, use your x-acto or utility knife to carefully trim and tissue paper that extends beyond the edges of the coaster.
9) At this point, you are done, but if you would like, you can add a bit of foam to the bottom of your coaster. You can trace your coaster and cut the foam to fill the entire underside or cut 4 small squares, circles, etc., to fit the corners.
10) Using your craft glue, add some glue to your foam piece(s) lay on the bottom and press.
11) Let dry and you are done! Time to move on to the next coaster. Remember, you can make them all different, make them all alike, your make them complementary to one another by repeating colors and motifs.
Enjoy & don’t forget to share photos with us! @gather.make.inspire
-
This collage technique is so addicting, you will want to try it again and again, exploring layering colors, motifs and patterns. You can collage any surface your glue will allow, from card stock to tin cans, this art can be functional or hung on the wall to admire.
We can’t wait to see what you create!